Turbo Native iOS custom keyboard toolbar
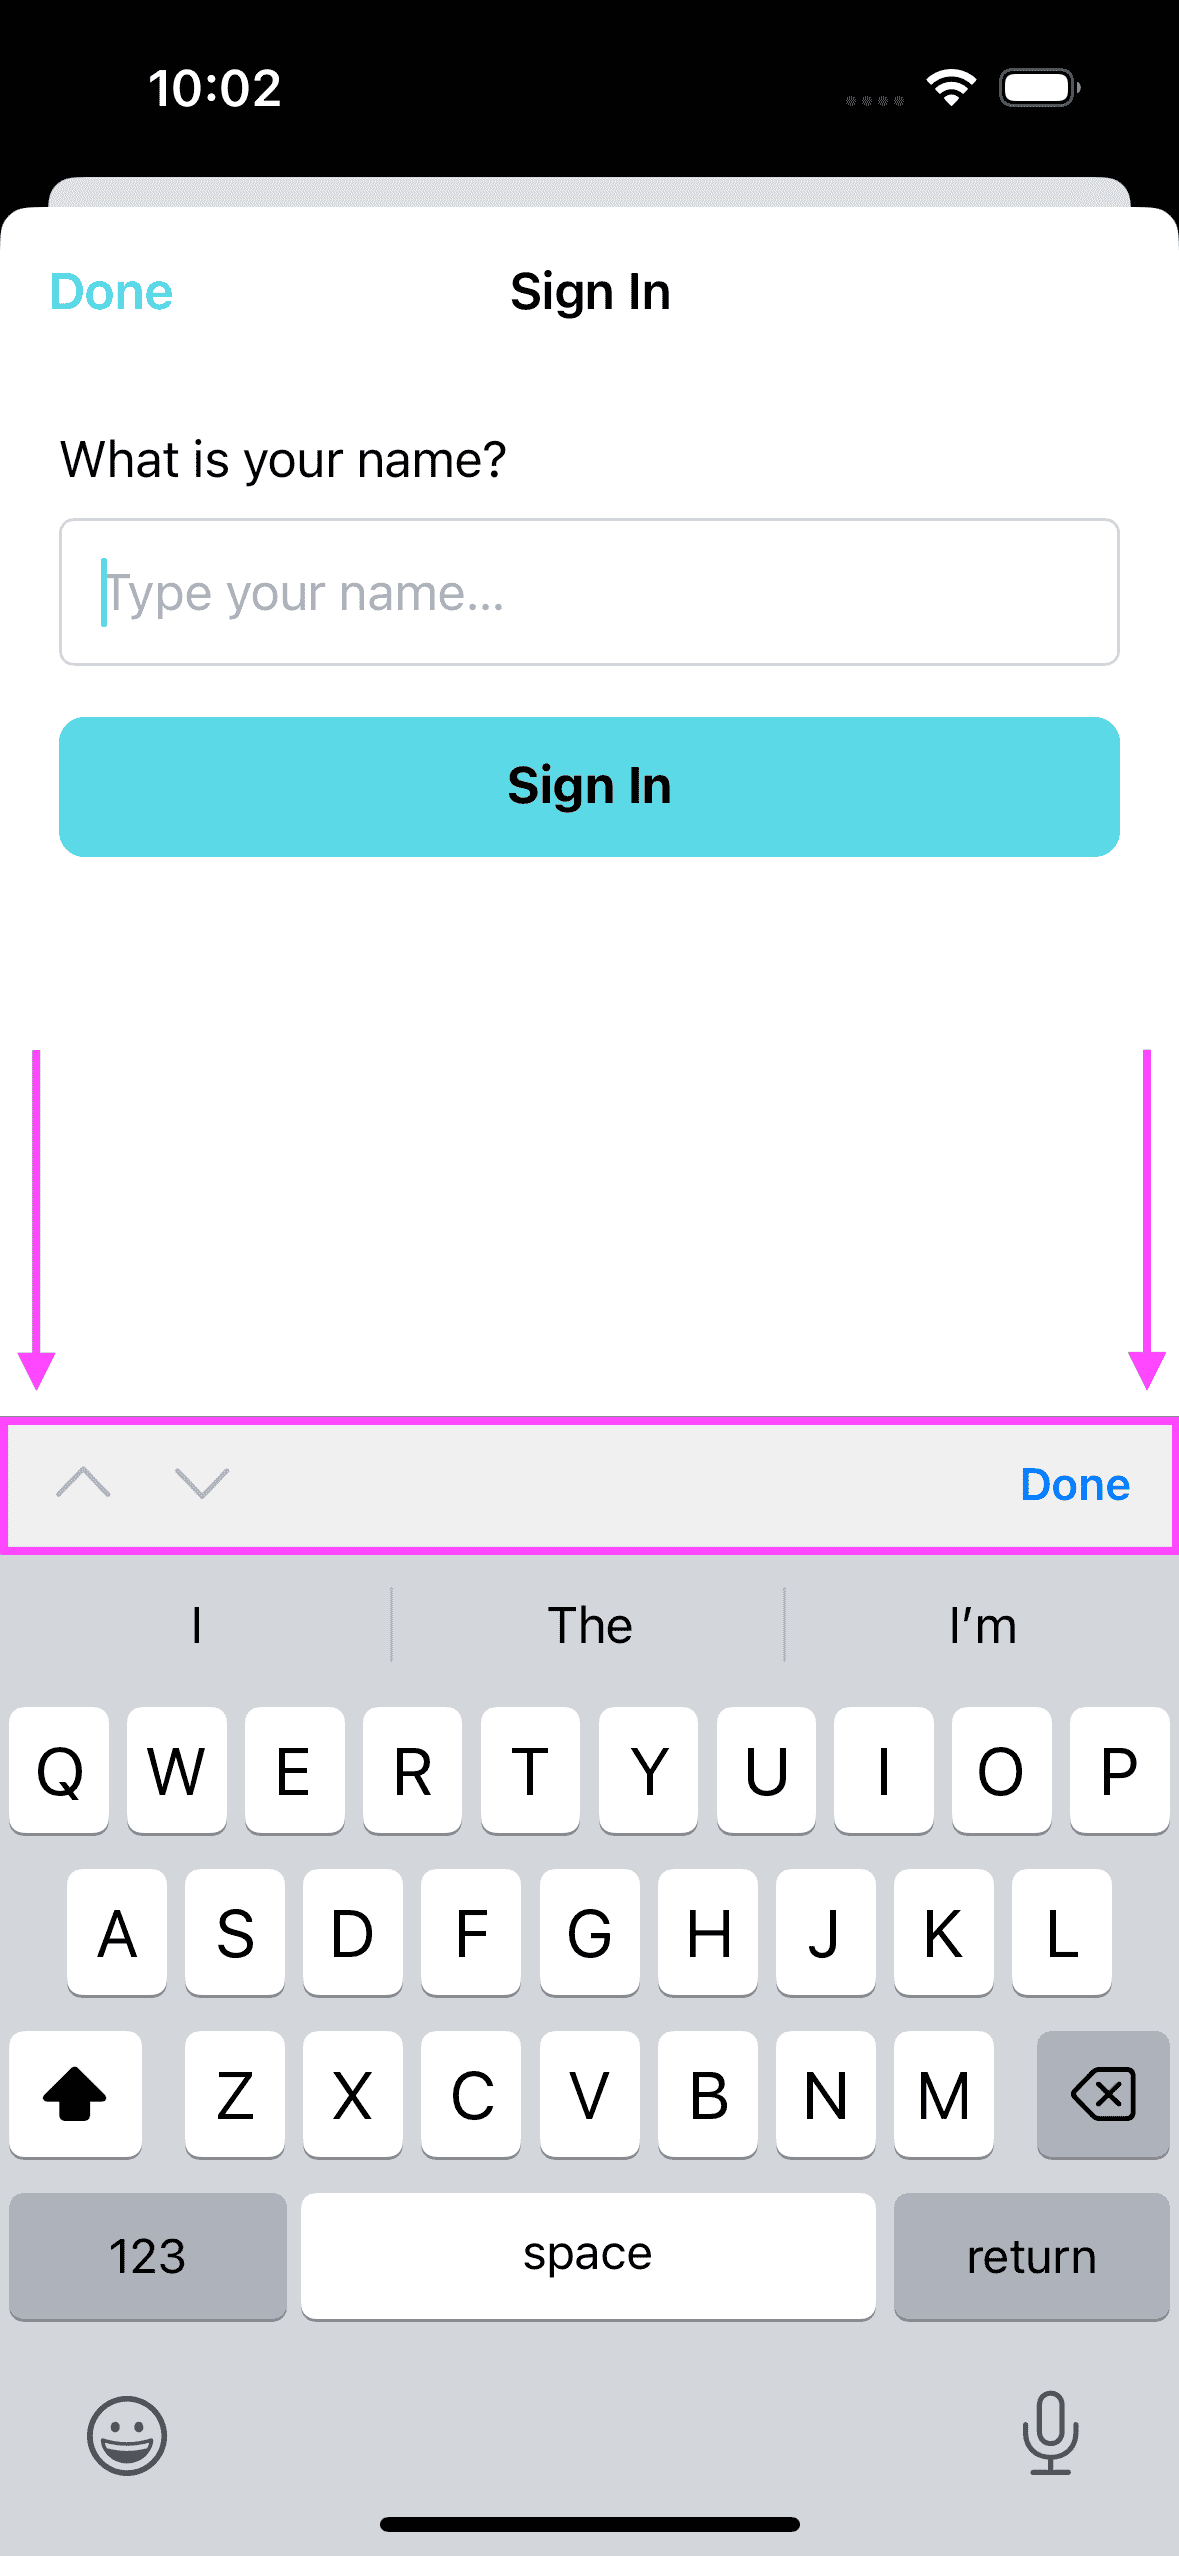
While using Turbo Native, I wanted to customize the toolbar shown above the keyboard on iOS when interacting with a text field on the website I was wrapping. By default, the toolbar displays an up arrow, down arrow, and a Done button. My goal was to remove this default toolbar.
To make sure we’re on the same page, here is a screenshot of the toolbar I was trying to remove:

For this demonstration, I’ll use the excellent turbo-ios demo project. If you’d like to follow along, clone the repo and get it running locally in the iOS simulator.
To do that, run the following commands in your terminal:
git clone https://github.com/hotwired/turbo-ios.git
open turbo-ios/Demo/Demo.xcodeproj
Once you’ve got the demo project running, we can start customizing the toolbar.
Customizing the toolbar
To display a website within your native app, Turbo iOS uses WKWebView, which is an object designed to display interactive web content, similar to how an in-app browser works. When interacting with form fields within this web view, the system automatically provides a default toolbar containing an up arrow, down arrow, and a Done button.
The source of this default toolbar is the inputAccessoryView property of the WKWebView object. The inputAccessoryView is a system-generated view that appears above the keyboard whenever a text input field becomes the first responder.
To customize this, we need to either override the inputAccessoryView to remove it entirely or replace it with a custom view that meets the needs of our app.
Steps to Remove the Default Toolbar
To remove the default toolbar, we can override the inputAccessoryView property of the WKWebView object. Here’s how you can do that:
Let’s start by creating a new subclass of WKWebView and overriding the toolbar.
import WebKit

class CustomWebView: WKWebView {
    override var inputAccessoryView: UIView? {
        return nil // Removes the default toolbar
    }
}
Save this code in a new file called CustomWebView.swift in the Demo project.
By setting the inputAccessoryView to nil, the default toolbar (which contains the arrows and the Done button) will no longer appear when users interact with a text field.
Next, we need to update the SceneController class to use our new CustomWebView subclass. Here’s how you can do that:
Within SceneController.swift, you’ll find the function:
private func makeSession() -> Session {
    let webView = WKWebView(frame: .zero,
                            configuration: .appConfiguration)
    if #available(iOS 16.4, *) {
        webView.isInspectable = true
    }

    // Initialize Strada bridge.
    Bridge.initialize(webView)

    let session = Session(webView: webView)
    session.delegate = self
    session.pathConfiguration = pathConfiguration
    return session
}
Replace the WKWebView with our CustomWebView subclass:
private func makeSession() -> Session {
    let webView = CustomWebView(frame: .zero,
                                configuration: .appConfiguration)
    if #available(iOS 16.4, *) {
        webView.isInspectable = true
    }

    // Initialize Strada bridge.
    Bridge.initialize(webView)

    let session = Session(webView: webView)
    session.delegate = self
    session.pathConfiguration = pathConfiguration
    return session
}
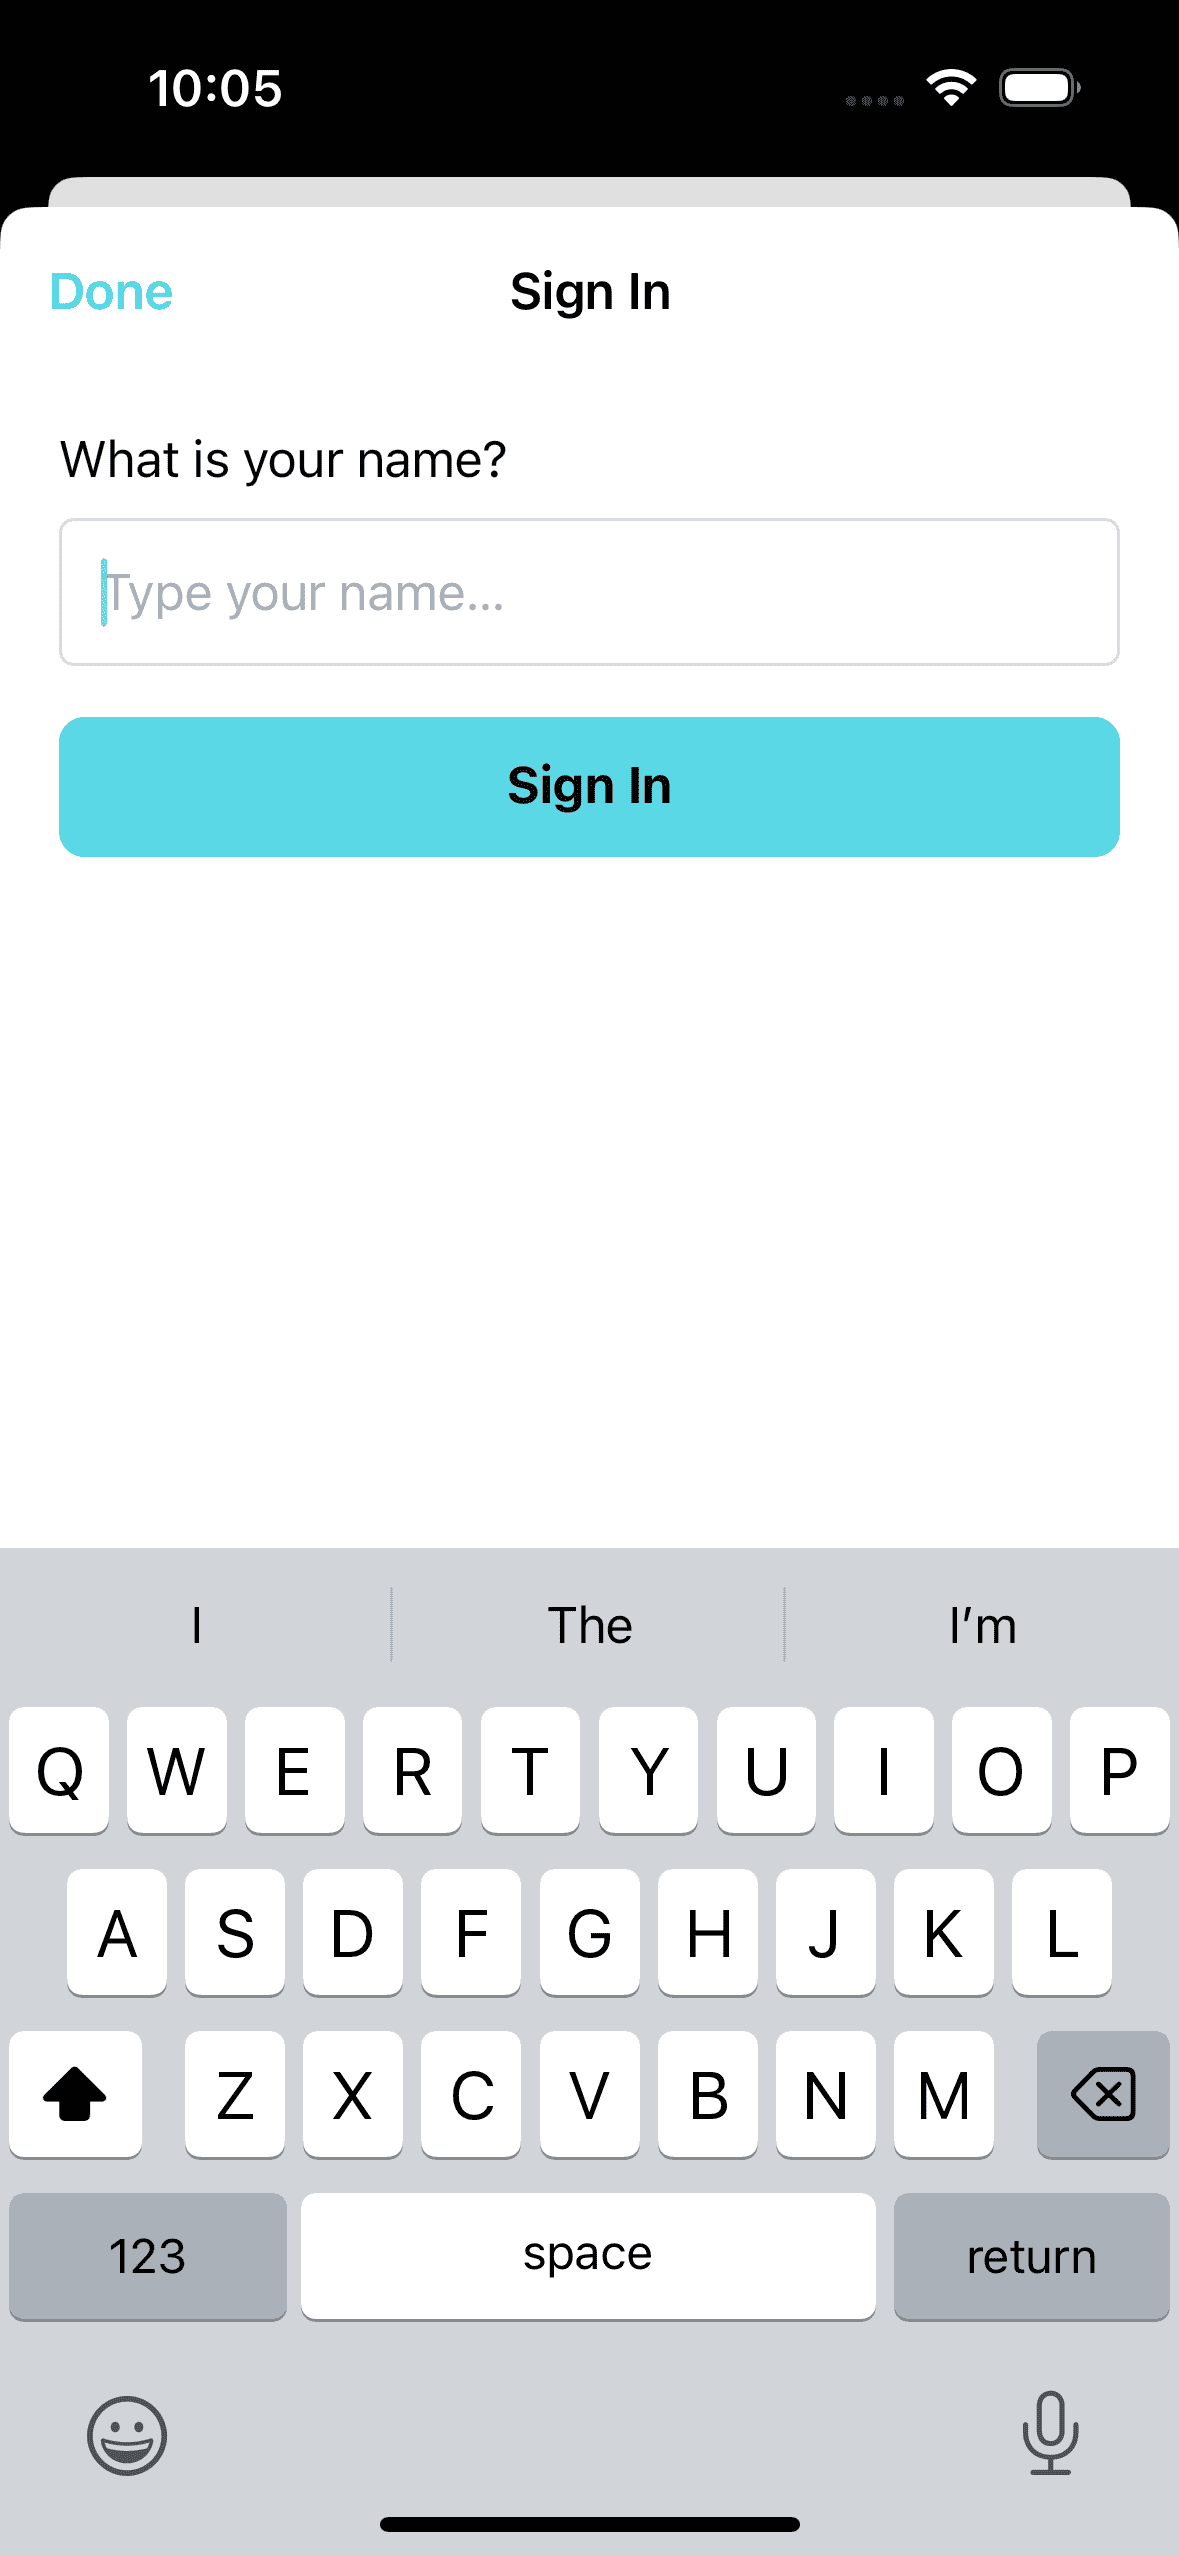
Now, when you run the app in the simulator and interact with a text field, you’ll notice that the default toolbar is no longer displayed.

However, removing the toolbar entirely might not be the best solution for all cases. In some instances, you might still want to show the default toolbar. In keeping with the Turbo Native conventions, let’s provide a mechanism to opt into the custom toolbar via path configuration.
Steps to Support Path Configuration
First, let’s edit the path-configuration.json. Within the first rule, remove the "/signin$" from the patterns:
{
  "rules": [
    {
      "patterns": [
        "/new$",
        "/edit$",
        "/strada-form$"
      ],
      "properties": {
        "presentation": "modal"
      }
    },
    // ... other rules
  ]
}
Let’s define a new seperate rule for the /signin$ path to disable the default toolbar:
{
  "rules": [
    {
      "patterns": [
        "/new$",
        "/edit$",
        "/strada-form$"
      ],
      "properties": {
        "presentation": "modal"
      }
    },
    {
      "patterns": [
        "/signin$"
      ],
      "properties": {
        "presentation": "modal",
        "default_toolbar": false
      }
    },
    // ... other rules
  ]
}
Keeping the rest of the file as is.
That takes care of our path configuration, but how can we use it to toggle the behavior of the toolbar? There are numerous ways to do this, and I’ve chosen to keep it as simple as possible. Since our Session returned by makeSession() is now using a CustomWebView subclass, we can add a property to it to toggle the toolbar. Here’s how you can do that:
import WebKit

class CustomWebView: WKWebView {
    private var isDefaultToolbarEnabled = true

    override var inputAccessoryView: UIView? {
        if isDefaultToolbarEnabled {
            return super.inputAccessoryView
        } else {
            return nil
        }
    }

    func setDefaultToolbar(enabled: Bool) {
        isDefaultToolbarEnabled = enabled
    }
}
If we call setDefaultToolbar(enabled: false) on the CustomWebView instance, the default toolbar will be removed. If we call setDefaultToolbar(enabled: true), the default toolbar will be shown.
To toggle the toolbar based on the path configuration, we can update the TurboNavigationController class. Here’s how you can do that:
Within the existing route function we’ll add
let defaultToolbarEnabled = properties["default_toolbar"] as? Bool ?? true
(session.webView as? CustomWebView)?.setDefaultToolbar(enabled: defaultToolbarEnabled)
(modalSession.webView as? CustomWebView)?.setDefaultToolbar(enabled: defaultToolbarEnabled)
This code reads the default_toolbar property from the properties dictionary and sets the isDefaultToolbarEnabled property on the CustomWebView instance accordingly. Since the demo app uses two Session instances, one for modals and one for everything else, we need to set the isDefaultToolbarEnabled property on both.
Here’s the full route function:
func route(url: URL, options: VisitOptions, properties: PathProperties) {
    // This is a simplified version of how you might build out the routing
    // and navigation functions of your app. In a real app, these would be separate objects

    // Dismiss any modals when receiving a new navigation
    if presentedViewController != nil {
        dismiss(animated: true)
    }

    let defaultToolbarEnabled = properties["default_toolbar"] as? Bool ?? true
    (session.webView as? CustomWebView)?.setDefaultToolbar(enabled: defaultToolbarEnabled)
    (modalSession.webView as? CustomWebView)?.setDefaultToolbar(enabled: defaultToolbarEnabled)

    // Special case of navigating home, issue a reload
    if url.path == "/", !viewControllers.isEmpty {
        popViewController(animated: false)
        session.reload()
        return
    }

    // - Create view controller appropriate for url/properties
    // - Navigate to that with the correct presentation
    // - Initiate the visit with Turbo
    let viewController = makeViewController(for: url, properties: properties)
    navigate(to: viewController, action: options.action, properties: properties)
    visit(viewController: viewController, with: options, modal: isModal(properties))
}
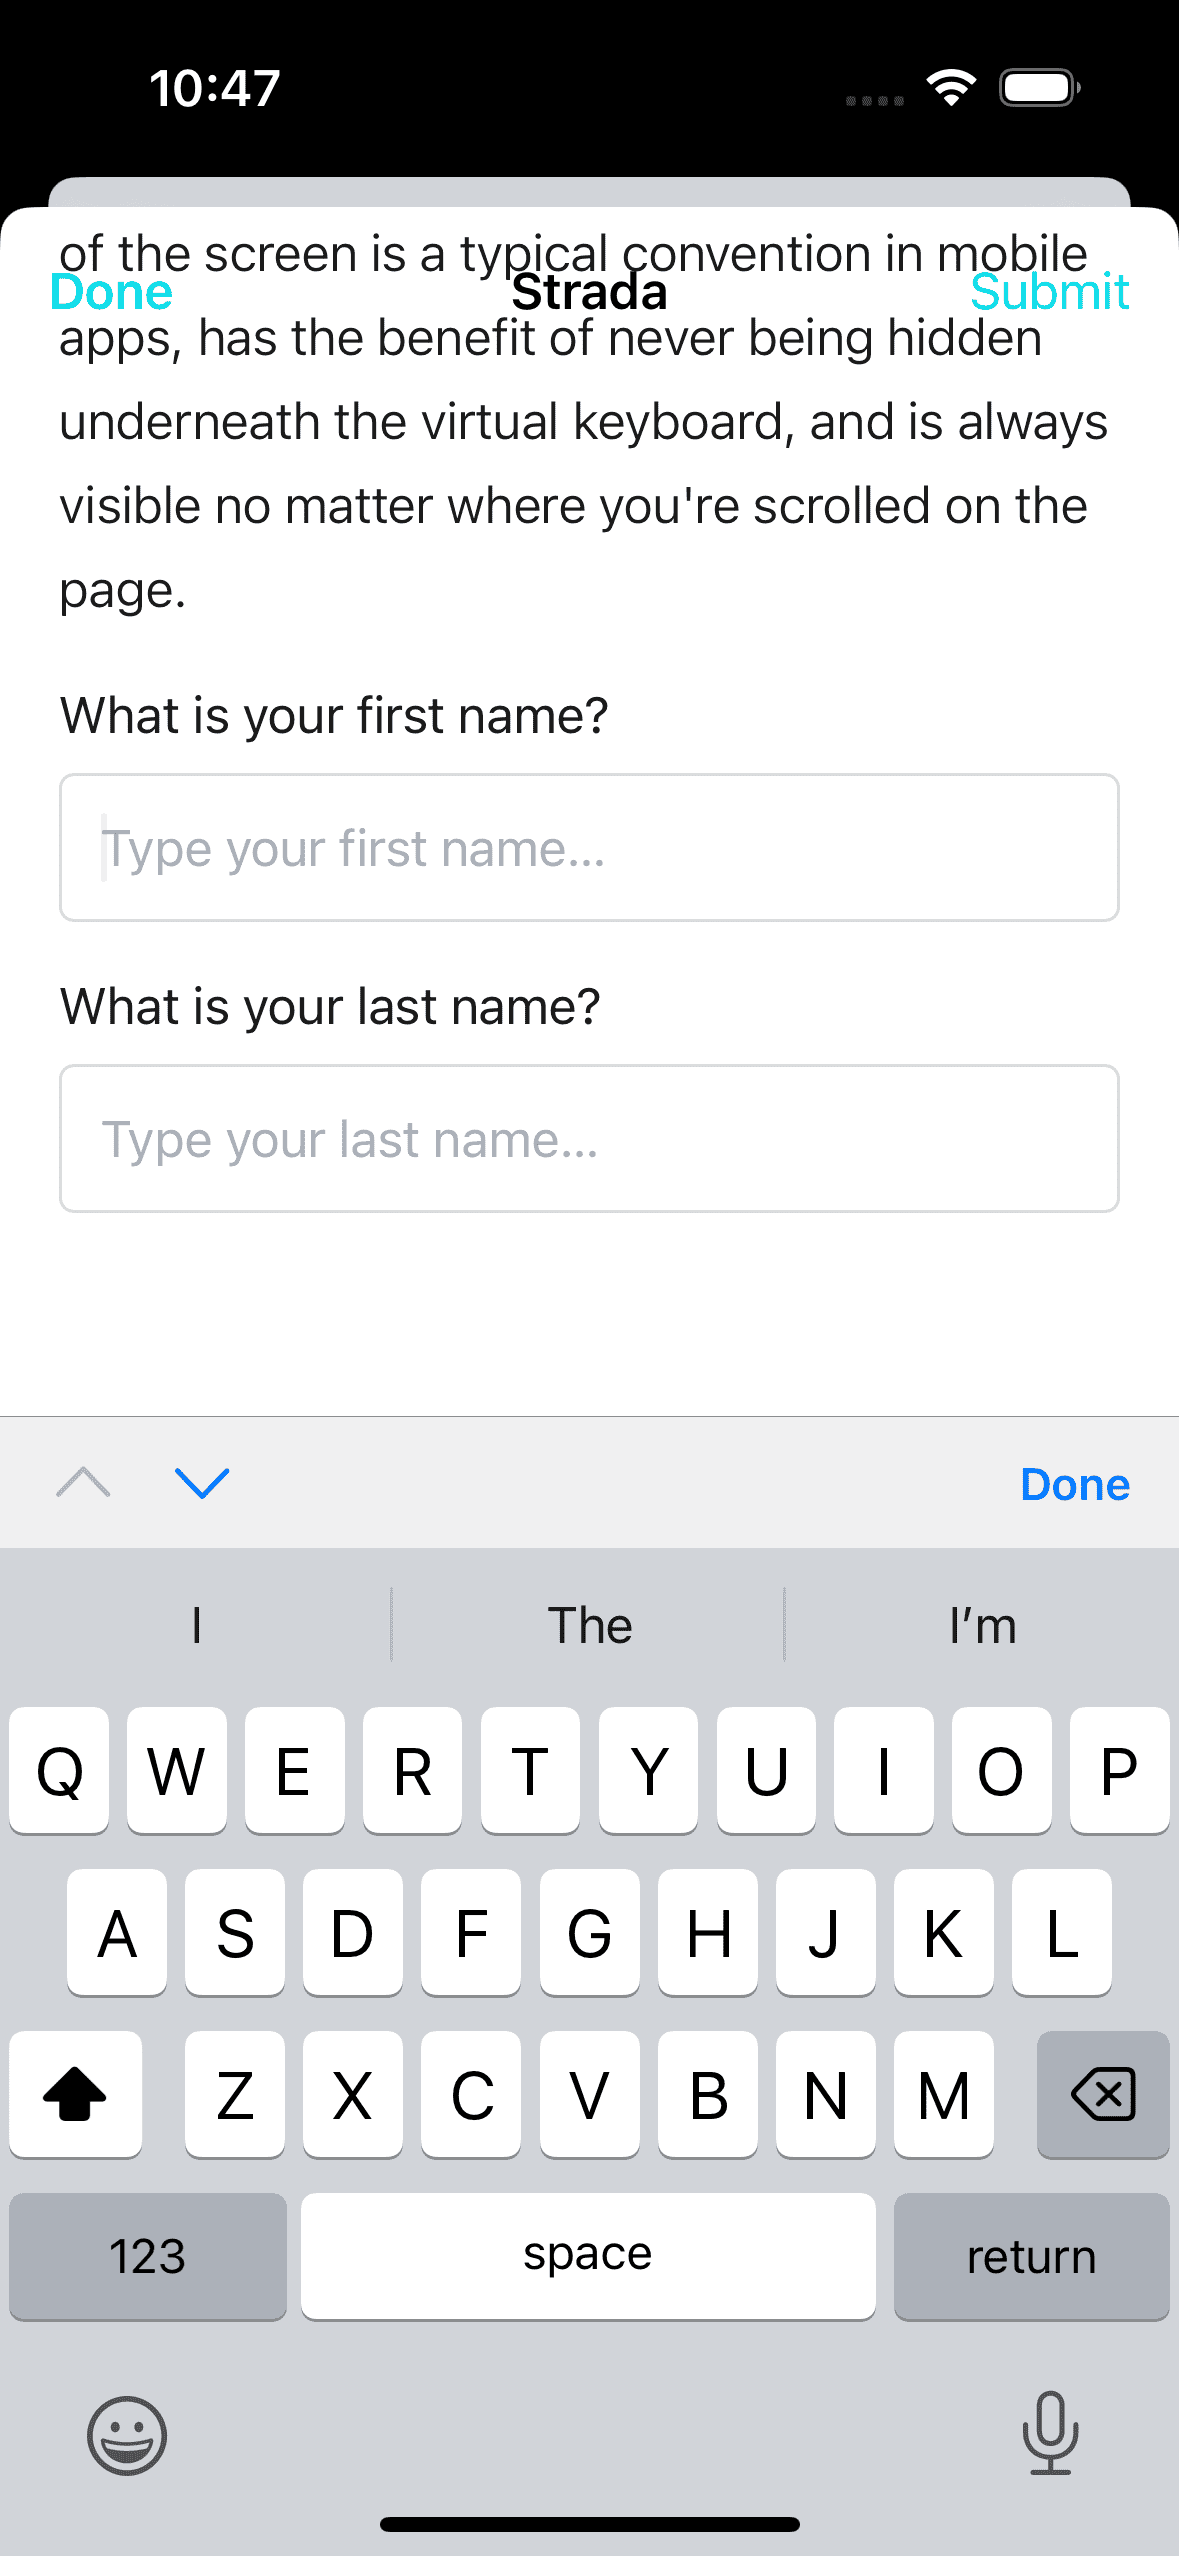
Now, when you run the app in the simulator and navigate to any path except /signin, the default toolbar will be present. When you navigate to the /signin path, the default toolbar will not be shown.


Alternative Approach: Using Strada for Toolbar Customization
Instead of using Path Configuration to toggle the toolbar, you can also use Strada to customize the toolbar. If we revert the change we made to the path-configuration.json file and remove the setDefaultToolbar(enabled: defaultToolbarEnabled) calls from the TurboNavigationController class, we can use Strada to toggle the toolbar instead.
This can be be done editing the Strada/FormComponent.swift. If we add two new functions to the FormComponent class:
final class FormComponent: BridgeComponent {
    // ... existing code

    private func disableDefaultToolbar() {
        (delegate.webView as? CustomWebView)?.setDefaultToolbar(enabled: false)
    }

    private func enableDefaultToolbar() {
        (delegate.webView as? CustomWebView)?.setDefaultToolbar(enabled: true)
    }
}
We can then hook into the Strada lifecycle methods to call these functions.
private func handleConnectEvent(message: Message) {
    guard let data: MessageData = message.data() else { return }
    configureBarButton(with: data.submitTitle)
    disableDefaultToolbar()
}

override func onViewWillDisappear() {
    enableDefaultToolbar()
}
Conclusion
We’ve explored two methods to customize the toolbar shown above the keyboard in a Turbo Native app:
- Using Path Configuration: This approach allows you to enable or disable the default toolbar based on specific URL patterns defined in your
path-configuration.jsonfile. - Using Strada and editing
FormComponent: This method provides dynamic control over the toolbar by leveraging Strada’s communication bridge between your native code and web content. It enables you to toggle the toolbar based on user interactions within the web view.
The path configuration approach is likely better suited if you simply want to enable or disable the toolbar based on specific paths. The Strada approach is more appropriate if you’d like to add buttons to the toolbar that interact with the web content.
One limitation of both approaches is that the toolbar can only be customized on a per-path or per-screen basis. If you need to customize the toolbar based on other conditions, you may need to explore alternative options.
I hope this is helpful!